

Anyone who has visited Starbucks or their local coffee shop in the summer has heard of cold brew coffee. It’s smooth, delicious and the perfect thing to cool you down on a hot day. It’s also really simple to make at home, and so in this article we’re going to demonstrate how to make cold brew coffee.
While most people are familiar with iced coffee, cold brew couldn’t be more different both in terms of brewing methods and tastes. To start with, iced coffee relies on hot coffee poured over ice, whereas when learning how to make cold brew coffee you’ll see that it relies on steeping in tepid water as its primary extraction method.

Cold Brew CoffeeIced Coffee

Using hot water in iced coffee causes the final product to be bitter and acidic. The colder water used in cold brew, however, gives the drink a much smoother, less acidic flavor profile, with the natural flavor of the beans more pronounced in every sip.
You’ve probably tried cold brew coffee at Starbucks and thought about making your own at home. Well it couldn’t be more simple. Read on, follow our advice, and we’ll teach you how to make quality cold brew coffee at home in no time.
What is Cold Brew Coffee?
But we’re jumping the gun here; let’s start by defining what it is before we demonstrate how to make cold brew coffee at home.
Put simply, cold brew coffee is a method of coffee extraction that relies on soaking coffee grounds in tepid to cold water for an extended period of time. Unlike traditional coffee brewing methods which use hot water or pressure to produce your espresso or cappuccino in a matter of minutes, cold brew coffee is an exercise in patience.
There’s no skirting around this – cold brew coffee relies on time in order to draw out all the delicate flavors and oils from the coffee grounds. The entire process will take between 16 hours and a full day to achieve completion.
It’s also important to note that the resultant brew is more of a concentrate more than a straight cup of coffee. It generally has higher caffeine content that other methods of brewing, and needs to be diluted in water before you can drink it. That is, if you don’t want to be bouncing off the walls first thing in the morning.
Needless to say, cold brew coffee is a labour of love. But it’s definitely worth it.
How to Make Cold Brew Coffee – A Quick Overview
There are a number of items which are essential to making a delicious batch of cold brew coffee. First and foremost, you’re going to need a batch of quality beans. You’ll also need a grinder, a large container (a mason jar works great for this), fine mesh sieve, paper coffee filters, and room temperature water.
When choosing your beans it’s important that you opt for a medium roast. Medium roast beans have been roasted to a lower temperature than dark roast beans, and that means they retain a smoother, less bitter flavor. This is extremely important as one of the hallmarks of cold brew coffee is its mellowness, and lack of bitterness within the flavor profile.
Time needed: 16 hours
Once you’ve gathered all of your equipment and ingredients, it’s fairly straightforward to make cold brew coffee:
- Measure your beans and water so that they’re sitting at a ratio of about 1:5.
- Grind your beans until they’re coarse, NOT medium or fine.
This will give them a greater surface area and allow the water to extract the oils and flavors more efficiently.
- Next, add water to your grounds.
Make sure you stir the mixture so that the coffee grounds are thoroughly saturated.
- Place the mixture in the fridge and leave it to steep for around 15 hours.
Depending on how strong you like your coffee, as well as the ratio of grounds to water, you may want to let it steep for longer.
- Take the readied mixture out of the fridge and strain it through a paper filter placed within the wire mesh sieve into a bowl or container.
Let it rest in the sieve to ensure you draw out as much liquid as possible.
- To serve, mix the concentrate with water at a ratio of 1:1, pour over ice, add some milk and enjoy.
All in all you’re looking at a full day’s worth of brewing time in order to get this right. Don’t be alarmed when you strain your mixture and end up with less concentrate when you thought. Once you dilute it with water you’ll see that this drink goes a long way.
If you’re not using all of your cold brew coffee at once, simply pour it into a sealable container and place it in the fridge. It should keep for up to 10 days, meaning you can produce batch brews in advance in you like.
How to Make Cold Brew Coffee – The Full Guide
Now that we’ve outlined the process we’re going to take a look at it in more detail. When it comes to learning how to make cold brew coffee, even the smallest details can have a profound impact on the final flavor, so it’s important to get them right.
1- Beans and Grinder
Coffee, no matter what style, is nothing without good quality beans and a grinder that can produce consistent grounds.
As we mentioned above, it’s important that you choose a medium roast in order to avoid bitterness and ensure the cold brew is as smooth as possible.
Because many of the sweeter flavor compounds of coffee grounds are soluble in cold water, whereas many of the acidic oils are not, using a medium roast always lends your cold brew a sweeter taste. Because of this, you want a bean that has an inherent sweetness as this will really show in the final product.
Some of our favourite beans include:
Once you’ve decided on the type of bean you want to use, you’ll need a way to grind them coarsely. We’ve waxed lyrical on this topic in our articles concerning the best coffee grinders for French press coffee as well as the best manual coffee grinders, but it bears repeating. Beans aside, a grinder is probably the most important tool for producing consistently delicious, smooth and robust coffee.
For cold brew coffee a coarse grind works best. This exposes more surface area of the bean and means that it’ll be able to get extracted more fully. If you grind your beans too finely you’ll end up with a sludgy mess on your hands; too chunky and the oils and flavors won’t be able to be extracted efficiently.
With a consistent grind in mind, we’ve listed a couple of our favorites below:
OXO Brew Conical Burr Coffee Grinder
JavaPresse Manual Coffee Grinder
2- Water
The next step in the process is adding water to your grounds. You’ll want a ratio of five parts water for every one part coffee. The final concentrate is going to have less yield than the amount of water that you put in, because some of that water is going to be absorbed by the grinds.
That’s nothing to worry about though. As mentioned above, you’re going to dilute the final product with water before you drink it anyway.
While the words used to describe cold brew coffee give the impression that it’s going to be freezing, the actual water used should be room temperature. Hot water will cause the extraction to take place much too quickly, leaving you with bitter coffee, and defeating the entire point of cold brew coffee in the first place.
Once you’ve added the water it’s important that you stir the grinds thoroughly and ensure that they’re fully saturated. If you’ve got an Aeropress starter kit, the stirrer that comes with it is a great tool for mixing your cold brew mixture thoroughly.
There are some rumors that the type of water you use will also affect the flavor. Using mineral water, for example, supposedly results in a much smoother finish. If you’re not willing to run out and buy five liters of Perrier, however, don’t worry – tap water works just fine.
3- Steeping
Steeping is the step that sets cold brew coffee apart from other, similar iced coffee methods. Whereas traditional Vietnamese iced coffee, for example, produces a delicious and chilled drink, it does this by adding hot coffee to ice. Cold brew coffee relies entirely on steeping as the primary extraction method.
There are two factors which are going to ultimately affect the flavor of the coffee here – the volume of water used in relation to the amount of coffee grinds, and the amount of time that the mixture is left to steep for.
It goes without saying that the longer you leave your cold brew to steep, the more intense the final flavors will be. However, this isn’t necessarily a good thing. Leaving your coffee to steep for too long is an easy way to end up with enough caffeine to send you to the moon.
The optimal time for steeping is around 15 – 18 hours (Starbucks steep theirs for 20). However, some people have found that steeping up to 24 hours is the way to go. At the end of the day, it all depends on your palate and how strong you like your coffee.
That being said, there’s such a thing as overkill. So it’s recommended that you try it a few times in order to find your sweet spot.
4- Straining
Once your coffee has finished steeping, you’ll need to strain it to get rid of all the leftover coffee particulates. Using only a fine mesh sieve or French press plunger won’t be enough here, and using either method will likely leave you with a sludgy, undrinkable mess – you need something finer.
We found that using paper coffee filters or cheesecloth is the way to go. Using either, line a fine mesh sieve and place it over a container. Then simply pour your cold brew mixture into the sieve and give it about 15 minutes to drain, stirring it with a wooden spoon in order to get out every last drop.
If you decide to use a paper filter then it would be good to wet it beforehand. This will ensure that the filter absorbs as little of the precious coffee concentrate as possible. It will also prevent the concentrate from acquiring a papery taste that sometimes gets passed on from dry filters.
5- Ready to Drink!
Once you’ve strained your coffee through the fine mesh filter and the paper coffee filters, you’re good to go. You’ve successfully produced cold brew coffee concentrate and learned how to make cold brew coffee at home – congratulations!
However, drinking it in this form might cause your heart to explode, so we recommend diluting it first. A 1:1 ratio of cold brew concentrate to water is usually sufficient for a smooth, sweet and velvety drink, but some people prefer it slightly to either side of the strength spectrum.
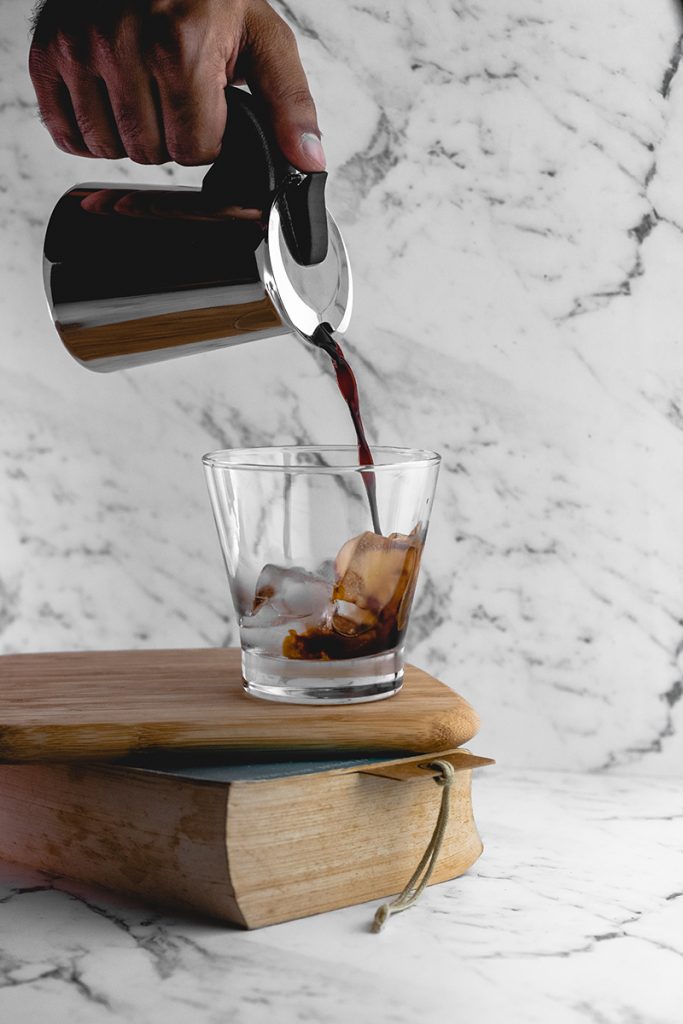
Pour the concentrate into a glass of ice, add your water and then top it off with some milk for enhanced smoothness.
If you find that the coffee is too strong, simply dilute it more until it’s more palatable. Likewise, if the coffee is too weak, just add more concentrate until you reach your desired strength.
Some people like to add sugar, but we find it isn’t necessary. As we mentioned earlier, the unique nature of the cold brew extraction process means many of the sweeter notes of the coffee bean are brought to the front. This should be ample sweetness for anyone who’s used to drinking espresso or pour over.
The Paradox: HOT Cold Brew Coffee

What many people don’t know is that you can actually use cold brew concentrate to make… hot coffee! It may seem a little counterintuitive at first (after all, cold brew suggests a drink you’re unlikely to consume in winter), but it’s actually a delicious and time-saving alternative to other styles of coffee.
It’s also really easy to make. Simply pour your concentrate into a glass or mug, then add hot or boiling water, the same amount as the cold water you would normally add when making regular cold brew. The result – a hot, less acidic and extremely smooth variation of an Americano.
This method is great for people who want to enjoy quality coffee in the morning, but don’t want to spend fifteen minutes grinding beans and waiting for their drinks to settle. Using previously made cold brew coffee takes as long as adding hot water and maybe some milk into a jar, and you’re ready to go.