
What’s percolatin’?
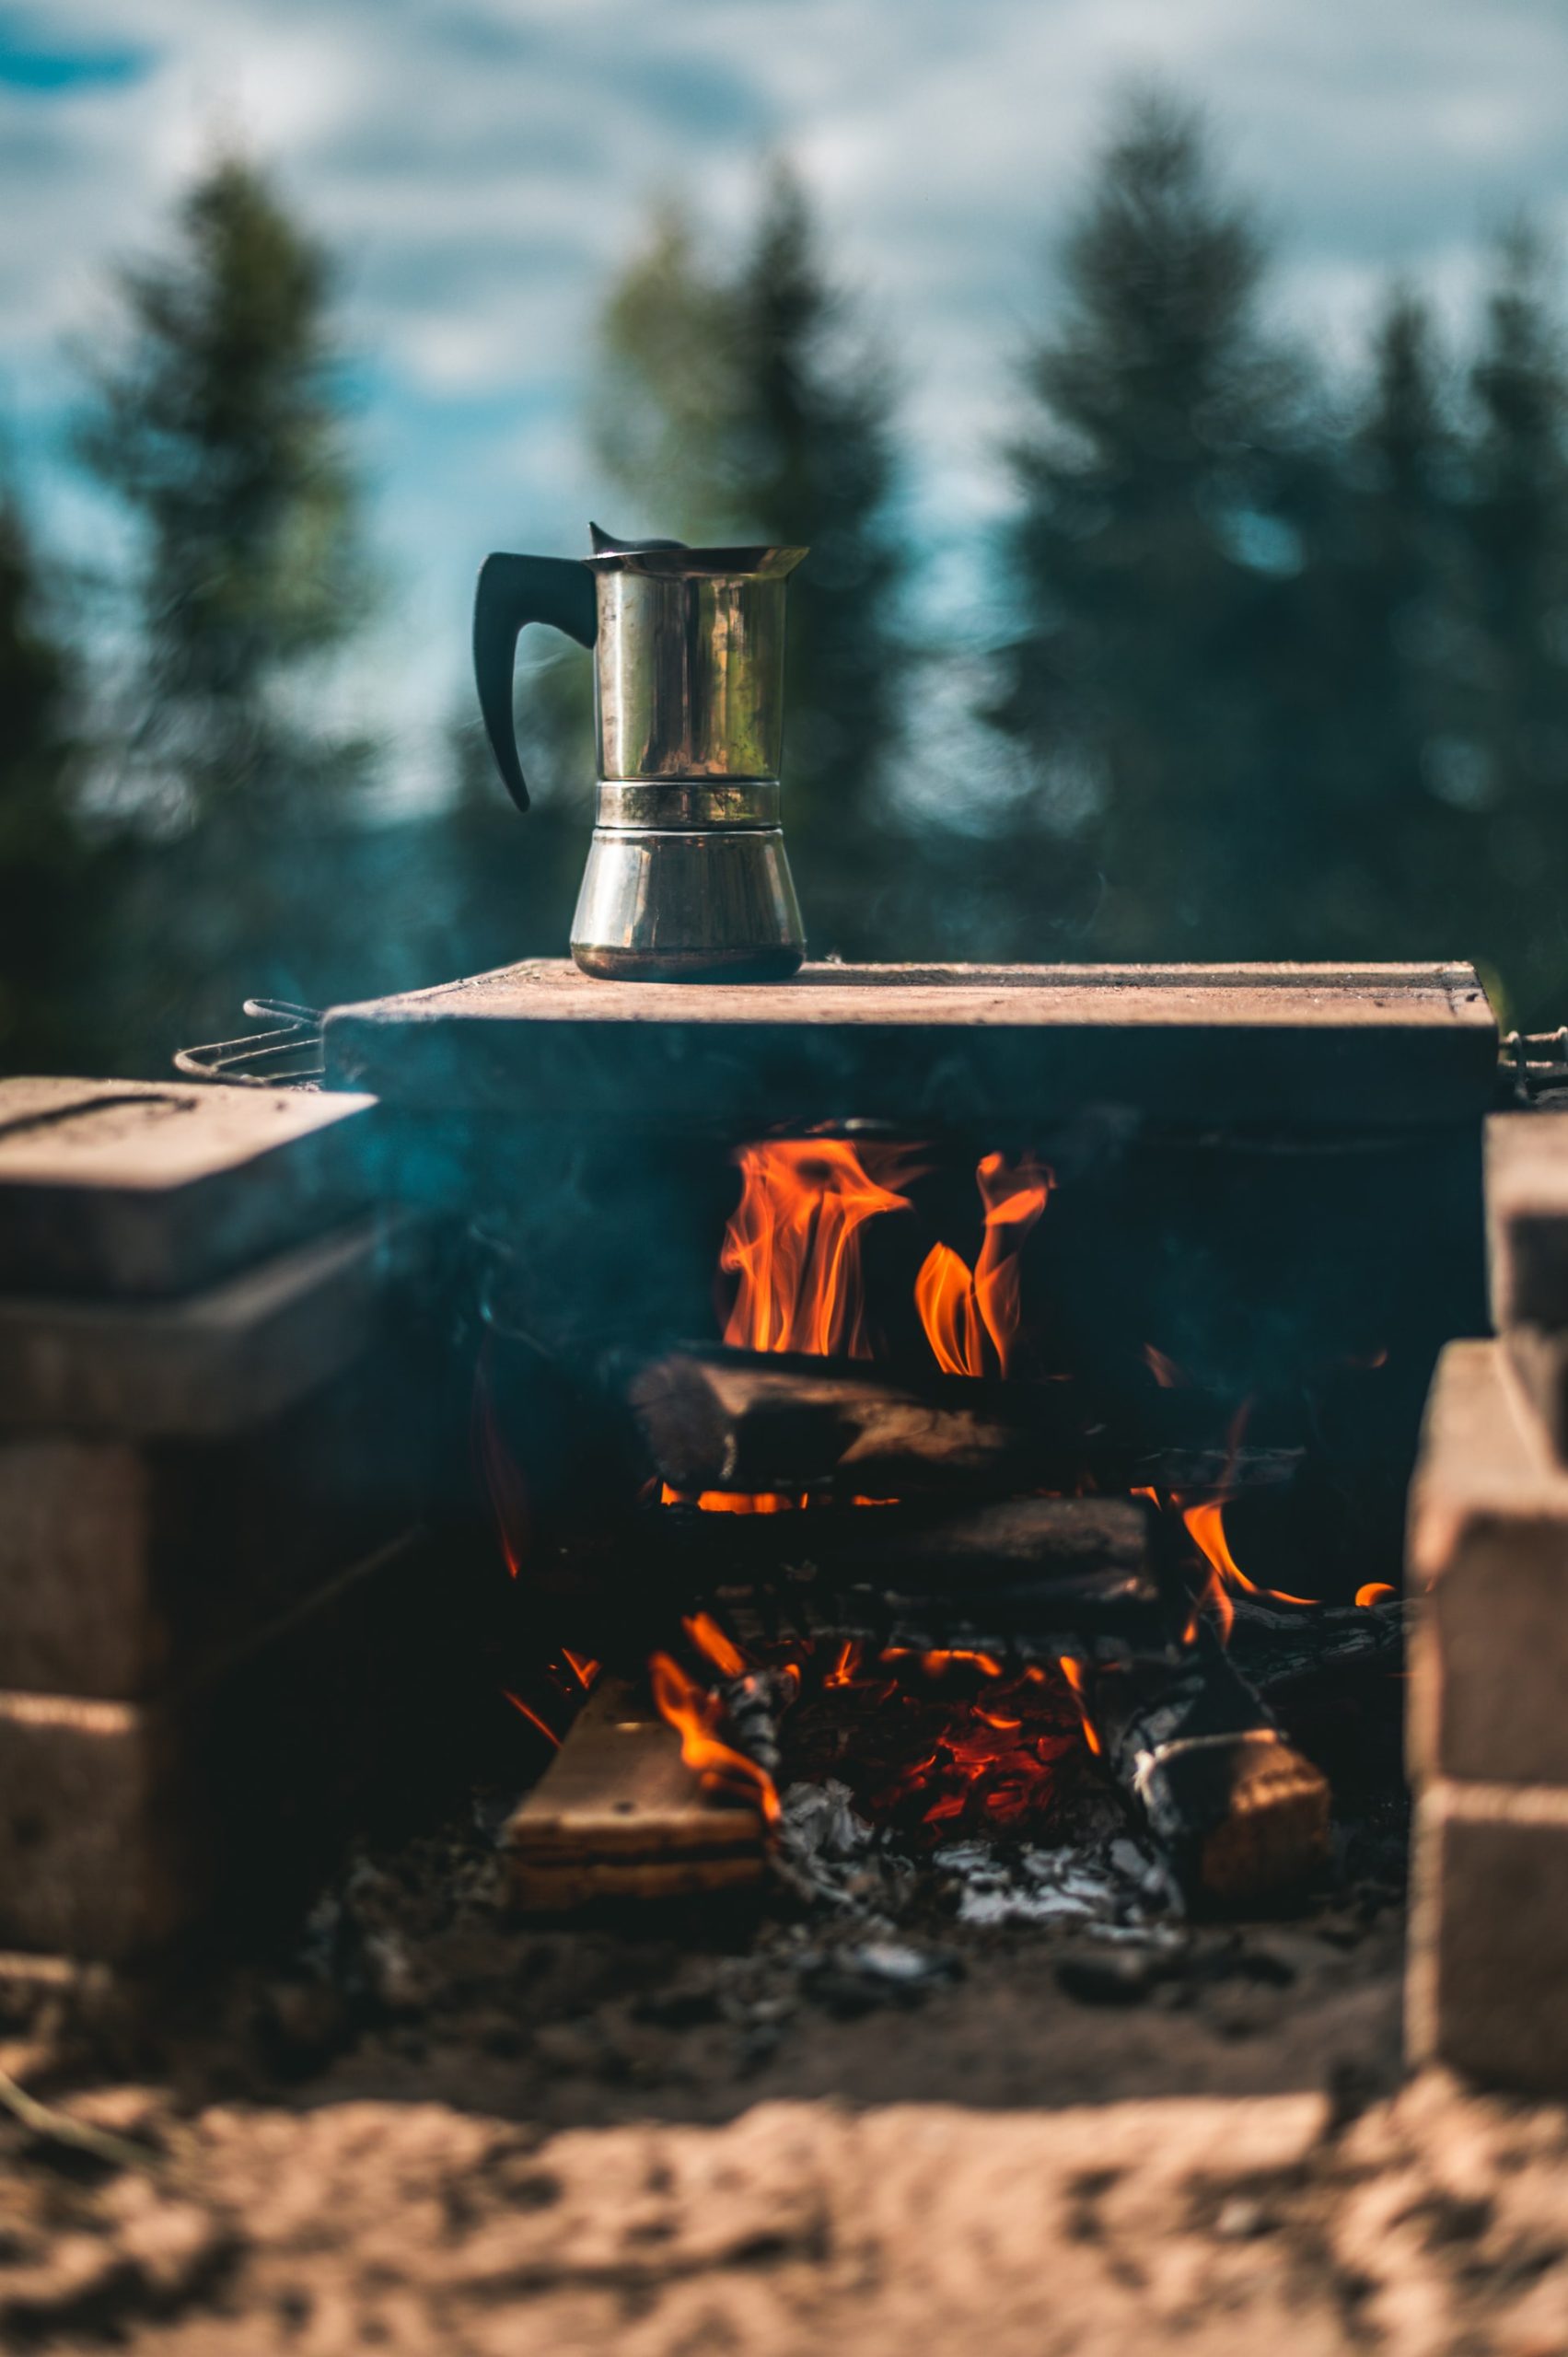
If you have a camping trip coming up, one important thing–-perhaps the most important thing?–to figure out how you’ll be brewing up coffee while on your trip. The last thing you want is to be caught in the middle of the forest without your fix.
Good news is, there are a lot of options for how to brew (or steep or mix) your camping coffee.
If you’re reading this, then you’ve probably already settled on using a perc and wondering how to use a camping coffee percolator.
Percolators are one of the most popular devices to use when making coffee while camping. In particular, a camping percolator is a quick and easy way to brew a pot of hot coffee. It’s popular because the device itself is fairly light and portable and not too finicky when it comes to cooking up some palatable brew.
So let’s dig into the specifics of cooking with a camping coffee percolator.
What is a Camping Coffee Percolator?
Before we get into the exact process for how to use a camping coffee percolator, let’s do a quick primer–what are these devices, exactly?
Simply put: Camping percolators are the same general brewing device you’d get if you were to buy a stovetop percolator for your home coffee making needs.
One key distinction is that a “camping coffee percolator” usually means that this particular model of percolator is built more for function than flash. It’s constructed of a durable and lightweight metal with a natural patina or enamel coating rather than, say, a beautiful polished coffee pot that you might keep on display atop your gas range at home.
Good percolators to take camping will also have a smart construction that’s both durable and usable over, say, an open campfire. It’ll need to withstand heat and also have a heat-resistant handle that you can safely grab and pour when the coffee’s done brewing.
How Does a Camping Coffee Percolator Work?
Now, let’s get into the science of exactly how percolators work and how to use a percolator when camping.
First, consider the components of a standard percolator:
- Pot
- Basket
- Tube
- Knob (often a view port into the pot)

What happens when you use a camping percolator? As you heat the water, it begins to boil, which means that water will be forced up the vertical tube that connects the main pot to the suspended basket where the coffee grounds are stored.
This actually happens because the water does not heat all at once. Since the water at the bottom of the pot, closest to the heating source, heats first, the bubbles carry this water up.
From there, the hot water seeps down into the coffee grounds and absorbs the water-soluble oils and flavors (you know, the coffee flavoring).
This is called “perking” – when the water is pushed up, out, and back down into the pot. You’ll hear a sputtering or “spurting” noise coming from the device.
Percolators use both upward pressure created by heating water and gravity to brew coffee without the need for electricity.
This process happens continuously as long as heat is applied and it’s how the coffee itself is brewed. Eventually, perking will stop when all of the water has reached the boiling point.
What You Need to Use a Camping Coffee Percolator
Science lesson over.
So what do you actually need to use a camping percolator?
You need just 4 things to make camping percolator coffee:
- Camping percolator
- Water
- Heat
- Coffee grounds
Depending on the percolator you’re using (and how you feel about grounds in your coffee), you may also need a reusable or paper filter that you add to the basket.
But that’s it. With these items in hand, you’re ready to brew coffee from just about anywhere on the planet.
Let’s look at how to do it.
How to Use a Camping Coffee Percolator (Step by Step Instructions)
Okay, now that we’re all on the same page about what exactly a camping percolator is–and how it works–we can get into the specifics of using one of these bad boys to brew a fresh cup at your campsite.
(Hopefully you’re reading this in advance and not scrolling through the article in your tent, feigning for the instructions to get your caffeine fix.)
The time has come to get brewing.
Just follow these steps to use a camping coffee percolator:
- Step #1: Disassemble the percolator
- Step #2: Fill the pot with water
- Step #3: Add a filter (optional)
- Step #4: Add coffee grounds
- Step #5: Heat on high until water begins to boil
- Step #6: Lower the heat to percolate (~15 minutes)
- Step #7: Remove from heat and pour
Step #1: Disassemble the percolator
Let’s start with the first step. You’ll have to pull the percolator apart so you can add water and coffee grounds to the appropriate spots.
This should be straightforward. Usually, the vertical tube and basket/filter for the coffee grounds are a single piece that simply sits inside the main pot.
All you have to do is open the pot, pull out the brew basket, remove the top, and you’re ready to get started.
Step #2: Fill the pot with water
Next, add water to the (now empty) pot.
It’s usually best to use the cups that you’ll be using to drink your coffee as a way to measure how much water you’ll need. You’ll want to add one coffee cup of water for each cup of coffee you’ll be brewing. Plus add an extra coffee cup of water for the water that will evaporate during the brewing process.
Ideally, you want to use cool or ambient temperature water (not hot water).
And, of course, be sure that the water is clean and suitable for drinking. This means it should either be filtered or boiled prior to brewing to remove any contaminants.
Step #3: Add a filter (optional)
Next up, you’ll want to add a filter to the grounds basket to stop the coffee grounds from filtering down into the finished coffee.
This is technically an optional step. Some people aren’t bothered by coffee grounds in their cup. And some percolators have a “built-in filter” that keeps the grounds in the basket. This will also depend on the grind of coffee that you use. If you’re using coarse-ground coffee (which is recommended for percolators) then you probably won’t need a separate filter. But if you’re using fine-ground coffee (like what you would use in an automatic drip machine) then the grounds will probably make their way into the coffee without an additional filter.
For the best possible outcome, we’d recommend looking into our review of the best camping coffee grinders. Find a device that fits your need and will allow you to fresh-grind your coffee beans to the correct coarse texture and avoid the need for an added filter.
Depending on the grind of your coffee and your personal preference about having grounds in your cup of coffee, you can skip adding a filter here.
Step #4: Add coffee grounds
Now comes (one of) the moment(s) you’ve been waiting for.
With your filter in place (or not), add your coffee grounds to the basket. Again, keep in mind that it’s best to use coarse-ground coffee rather than fine-ground coffee.
You should put 1 heaping tablespoon of grounds in for each cup of water you added to the pot. If you like your coffee extra strong, feel free to add more.
Put the basket lid back on and then place the stem and basket back into the percolator.
Step #5: Heat on high until water begins to boil
Now, place the re-assembled camping percolator (with water and coffee grounds inside) over your heat source. This could be an open campfire or a portable stove.
At this stage, you’re attempting to heat the water quickly to bring it to a boil. So either turn the flame up to “high” or place the camping percolator as close and directly over the flame as possible to bring the water up to temperature.
Step #6: Lower the heat to percolate (~15 minutes)
You’ll know when the water starts to boil because the pot will begin “perking”, meaning you should hear a spurting or sputtering sound as the hot water is forced up the stem and down through the coffee grounds.
Once this process begins, you actually want to lower the temperature on the percolator to achieve a slow simmer.
You can do this by turning down the flame on a propane stove or moving the percolator up and/or away from the center of the campfire. It’s important to maintain a fairly even temperature to maintain the percolation but without boiling the water too rapidly.
Generally, you want to allow the coffee to brew over low heat for about 15 minutes.
Once all of the water reaches boiling, the “perking” noise should stop. This means that the coffee is fully brewed and ready to drink. Do not keep the percolator over heat after the percolation ends or you’ll over extract the ground and end up with burned, bitter coffee.
Step #7: Remove from heat and pour
Last, but certainly not least, once the brewing process is complete, you can now remove it from the heat.
Pour directly from the percolator into coffee mugs and serve hot.
Just be careful when removing the perc from the heat source as the surface and/or handle may be hot to the touch.
The Best Camping Coffee Percolator
If you haven’t already picked up a perc for your next adventure, then you’ll want to check out our reviews for the best camping coffee percolators.
Here’s our top pick.

FAQs About Using a Camping Coffee Percolator
How long do you percolate coffee on a camp stove?
Once the water begins to boil, it usually takes about 10-15 minutes to fully brew.
How much coffee do you put in a camping percolator?
Add about one heaping tablespoon of coffee grounds for each cup of water. Add more for stronger coffee.
How do you know when percolator coffee is done?
You’ll know that your coffee is ready when you hear the “spurting” or sputtering sounds stop. This means that all of the water has reached the boiling point and you want to remove it from heat immediately.