
If you’re ready to go from good coffee to great coffee, this is the guide for you.
Pour over coffee is actually one of the more modern coffee brewing methods in the world. It’s the original drip coffee—before automatic coffee makers, pour-over was both common and beloved.
Compared to modern brewing methods, it’s slower and more methodical.
But that’s what we love about it.
Yes, it takes longer to brew coffee. But dialing in the perfect cup is both an art and science. You’ll feel like a mastermind perfecting your craft each and every morning.
Cafes around the world serve pour-over because it’s both deceptively simple and also complex—focusing on the coffee taste and maximizing the flavor from the coffee bean.
Grab yourself one of our favorite pour over coffee makers and let’s brew.
How to Make Pour Over Coffee: A Quick Guide

Want to get right to the nitty-gritty?
Here’s the pour-over brewing process in 8 steps:
- Fresh grind coffee beans. Grind size will vary depending on whether you’re using a Chemex or other coffee dripper, the filter you use, and the
- Heat water to ~205 degrees. You’ll want a gooseneck kettle.
- Place paper filter (or reusable filter) in dripper or carafe.
- Wet the filter and carafe or cup. Before we begin brewing, you’ll want to do an initial pass to wet the filter and rinse the carafe or cup. Pour this water out.
- Add the coffee grounds. Create a level coffee bed.
- Do an initial pour. Pour in a circular motion starting in the center. Focus on saturating the grounds. After the first pour, let sit for 30 seconds.
- Additional pours. Repeat pouring in the same pattern. Between each pour, wait until most (but not all) of the water has filtered through.
- Pour and serve. Make sure you follow the ABBA pattern for best results.
Jump to the detailed step-by-step brewing guide.
What is Pour Over Coffee and What Makes it Special?
Barista and experts agree—this simple approach is one of the best coffee brewing methods.
It’s also healthier for you than other brewing methods thanks to the filter.
At the most basic level, you’re simply passing hot water through the coffee grounds, which is extracting the coffee flavor and carrying it down into your cup for your enjoyment (and caffeine sustenance.)
But there’s a bit more than meets the eye.
We can break down the brew process into three phases:
- Wetting
- Dissolution
- Diffusion
I’ll spare you the entire chemistry lesson, but here’s what you need to know.
Wetting
The “wetting” phase is often called the coffee bloom. It’s the first time you add water to your coffee grounds and you’ll see bubbles pushing their way to the top, making the grounds swell and expand in the filter.
This is a critical step in the process because it’s releasing the CO2 (carbon dioxide) left over from the process used by coffee roasters.
When brewing, you need to first wet the grounds and then allow them to bloom—for about 30 seconds—before you begin the next pour. This is important because while the coffee is blooming (while the CO2 is escaping), the water can’t absorb the oils and solutes in the coffee. In other words, the coffee won’t begin brewing until the CO2 is out of the grounds.
Dissolution
Dissolution is how the water begins to dissolve the soluble chemicals and oils from the coffee beans.
Diffusion
Finally, diffusion is the process of the brewed coffee being extracted from the grounds and making its way down into your cup.
What makes pour over coffee such a favorite: Control.
Every time you brew with this method, you’ll have precise control over the outcome and the quality of the coffee you drink.
You have 3 variables that are controlling the brew time, temperature, and strength of the coffee.
The 3 factors are:
- Water temperature
- Grind size
- Filter type
Each of these factors are like a “setting” that you might find on a fancy schmantzky coffee machine. And, essentially, what they control is time. They determine how long the grounds saturate in the water before dripping down into the cup.
The longer (and hotter) the brew, the more likely you are to “burn” the coffee or end up with acidic and off flavors that you probably don’t enjoy.
So the secret is in figuring out the exact right combination of these factors to create the best pour and the best flavor based on your preferences.
The other thing that makes this method unique is the use of the paper filter.
Unlike other types of coffee, you’ll end up with a clear and clean cup. There should be no remaining sediment and the body of the coffee will be noticeably lighter than french press coffee, for example.
This is because the filter captures and filters more of the oil and other non-soluble parts of the coffee.
History of Pour Over Brewing
Hey John, hit rewind!
We’re going to take a quick trip into the past to touch on the history of this coffee making approach and what you should know.
Okay, so before our modern drip coffee makers, most people who made coffee at home used a percolator that they’d place on top of their stove.
That’s a totally cool way to make coffee. But, truth is, most people kind of suck at using them. They often over-extract the coffee and end up with something bitter and probably unpalatable. (Or less palatable.)
Then came along Melitta Bentz. This German housewife was apparently sick of burned, acidic coffee and tore through her house looking for a better way to brew.
And she found it. She realized that she could brew coffee by simply pouring hot water over ground coffee beans using a paper filter to slow the water flow, control the brewing, and remove some of the chemicals and sediment that would end up in a cup of coffee poured from a percolator.
Just like that, Melitta Bentz invented and patented the drip coffee maker and filter in 1908.
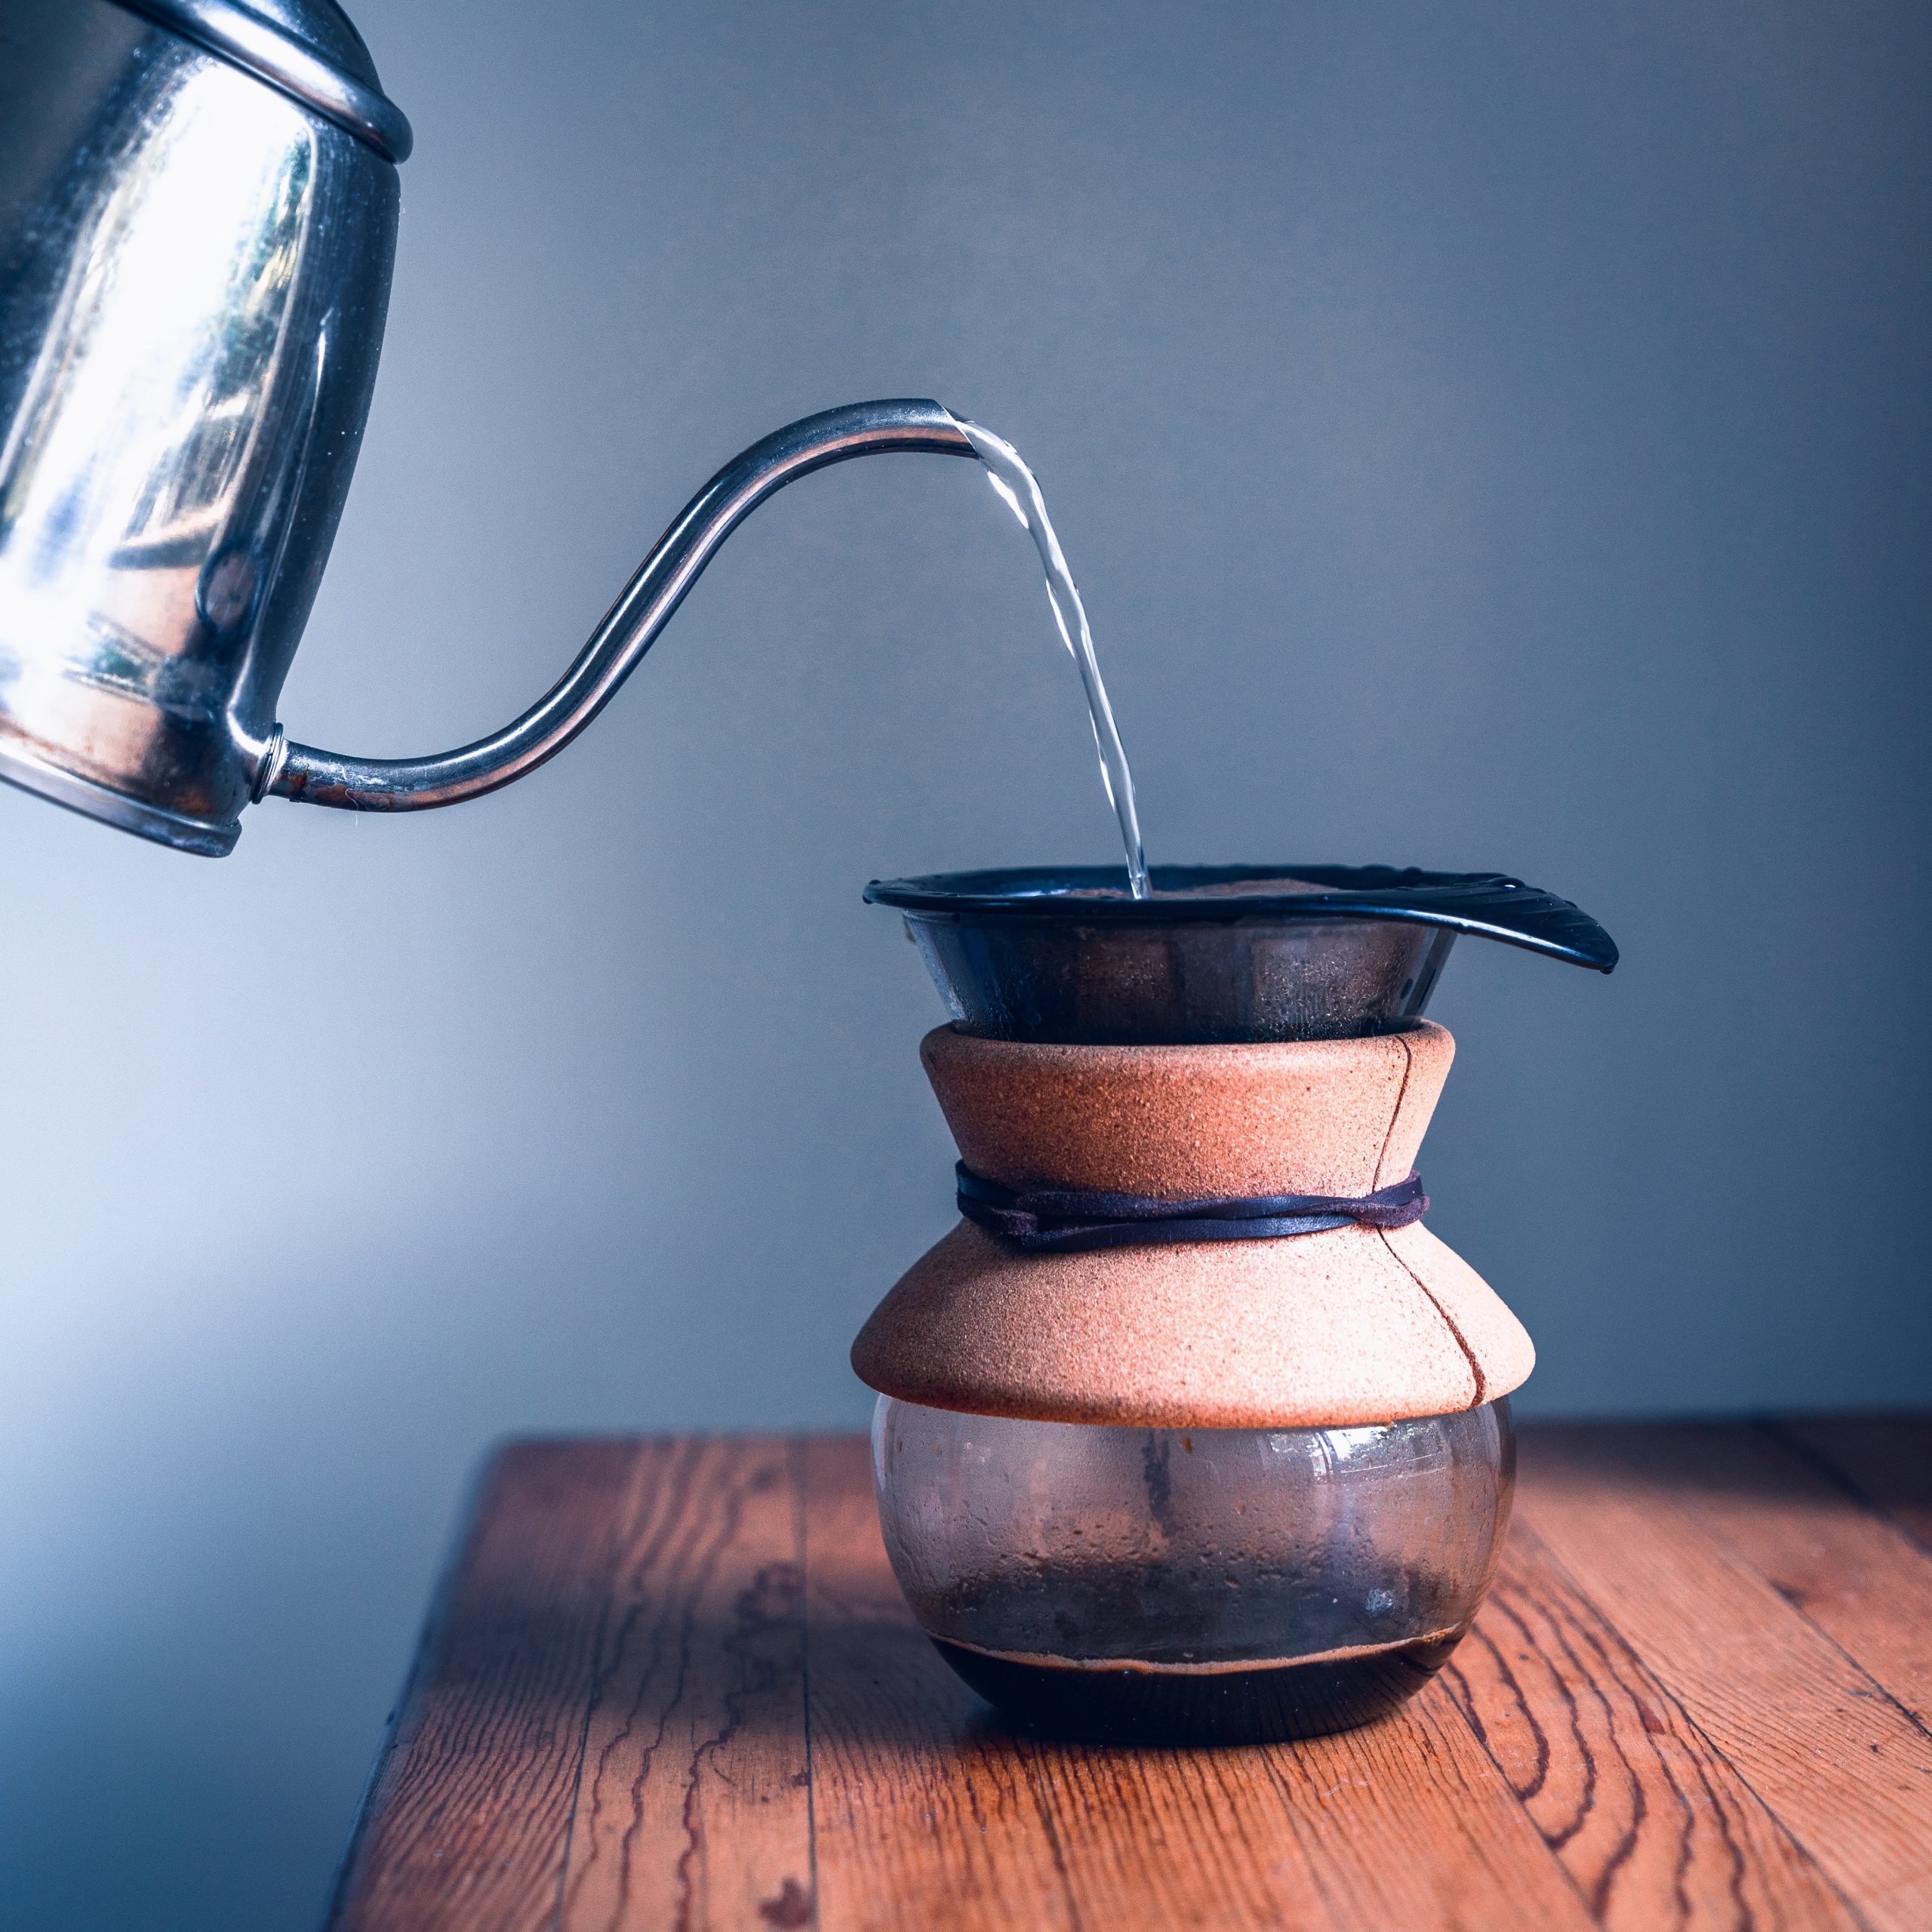
The original manual process involved what is usually called a “dripper” or a cone-shaped brewing device that holds the grounds and funnels the brewed coffee down into the vessel below.
Of course, this process would eventually become mechanical.
In the mid-20th century, electronic, automated drip coffee machines became widely available and commonplace in most kitchens. They were seen as a “replacement” for the manual drip brew process, but of course they don’t offer the same level of control and precision.
Third-wave coffee has brought back the pour over for this exact reason.
Coffee shops, baristas, and coffee snobs all appreciate the simplicity and quality of coffee.
What You Need to Brew: Pour-Over Coffee Maker
So what do you need to actually brew a pot? Well the obvious answer is you need the coffee maker itself—the coffee machine, as it were.
Of course when it comes to pour over coffee, we’re not talking about a gadget or a doo-dad.
We’re talking about basically one of two pieces of equipment:
- Chemex — a coffee dripper and carafe in one
- Coffee dripper — just the funnel piece that you can use with your own coffee mug, pot, or other vessel
Either of these is a totally viable option and really just a matter of preference (and perhaps style) that will make the difference.
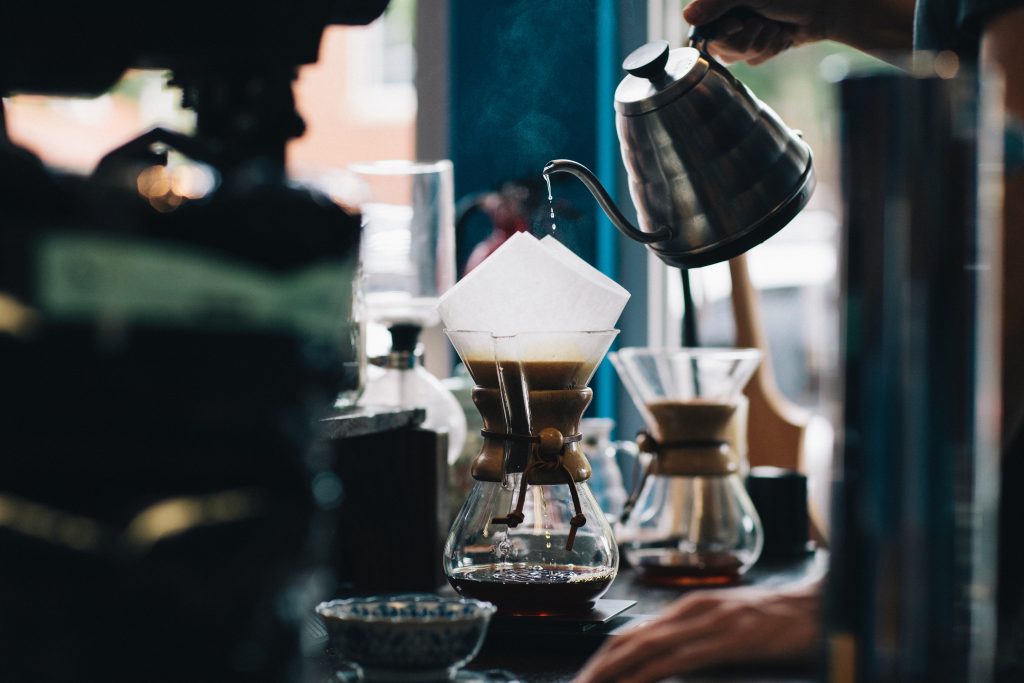
The Chemex Pour Over Coffee Maker

One of the most popular pour over devices, the Chemex is a timeless piece of brewing equipment. Its elegant hourglass shape is unmistakable.
It’s both a coffee dripper and a coffee carafe with built-in pour spout. This means you won’t need any other equipment to brew.
The only real drawback is that most Chemex users become rather militant about the other equipment they use, and this means you’ll probably be committing to purchasing their special filters for every time you brew a pot.
Read our full review on the Chemex coffee maker.
The Hario V60 Coffee Dripper

Simple, sleek, and effective. The Hario V60 is one of the quintessential coffee drippers.
It essentially transforms any coffee cup, mug, carafe, or pitcher into a pour over machine. You simply place the device on top, add a filter and grounds, and pour.
Hario offers a variety of materials and designs, but the original if the ceramic cone.
Of course, this does mean that you’ll need some additional equipment—like a coffee server—to be brew-ready with this option.
Read our full review on the Hario V60.
Other Options
Neither of these tickling your fancy? No need to fret. There are definitely more options.
Here are some of our other favorites:
Read our full review of the best pour over coffee makers.
What Else You Need to Brew: Accessories
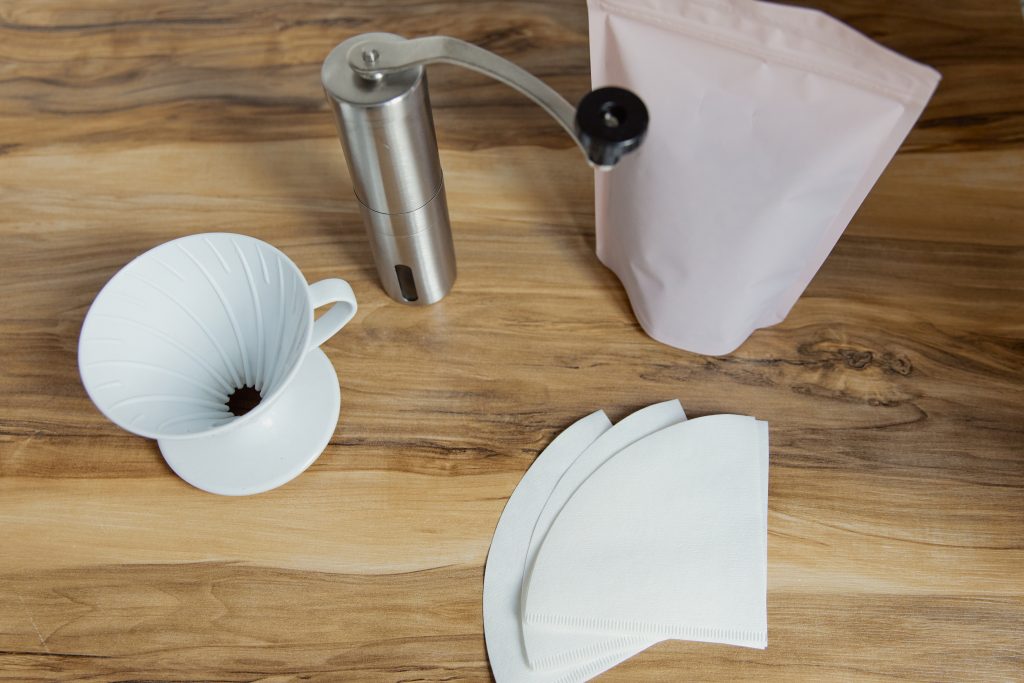
When it comes to dialing in an exquisite cup of coffee, you’ll want to make sure you have all of the gadgets and accessories you need to perfect your craft.
#1: Burr Grinder
You will definitely want a coffee grinder so you can enjoy fresh-ground beans. Burr grinders are the best for their consistentcy and reliability.
They come in both manual and automatic (electric) models and range from about $40 – $200.
#2: Digital Scale
Because the exact amount of coffee and water is so crucial to perfect pour over, you’ll want a scale to make sure that you’re hitting just the right ratio.
Check out our favorite digital coffee scales.
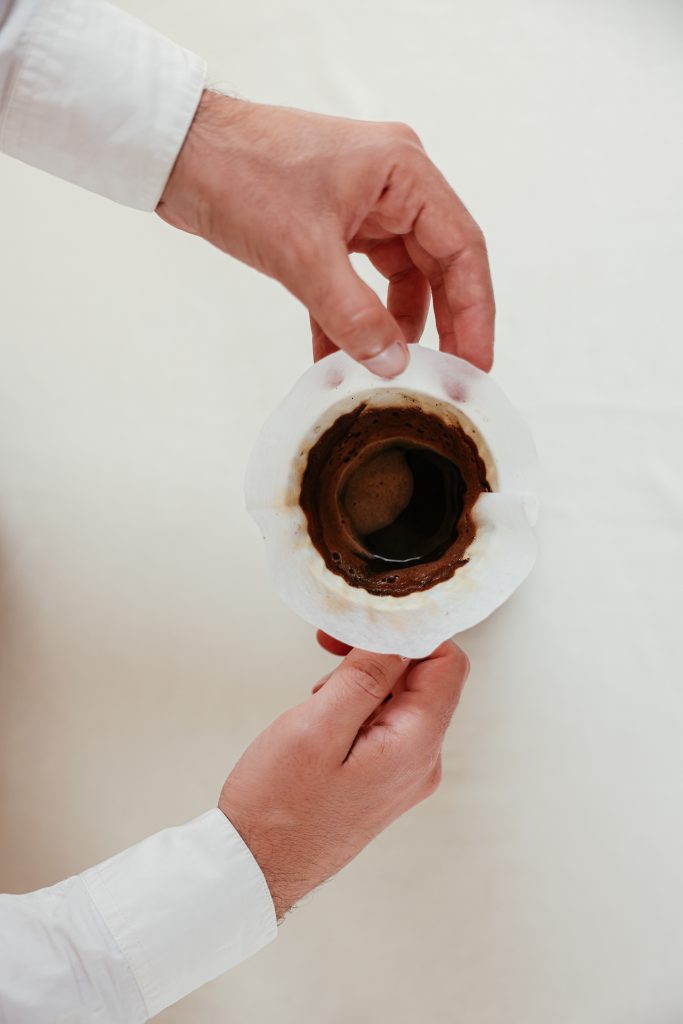
#3: Coffee Filters
You will need to buy filters to make pour-over coffee.
You can choose either paper filters (most common and most recommended) or you can look into reusable, metal, and mesh filters.
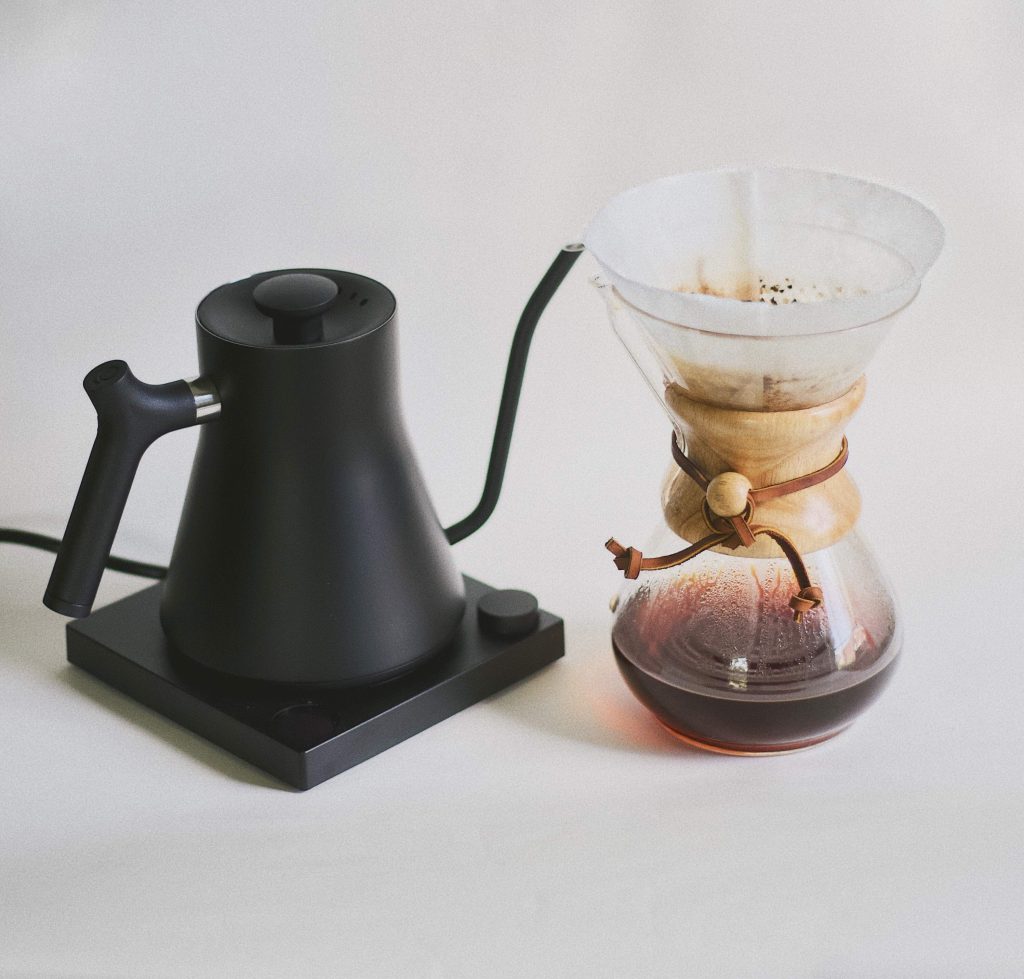
#4: Electric Kettle
Finally, you’ll want to get yourself an electric (or stovetop) kettle. You’ll almost definitely want a gooseneck kettle in particular.
I’ve tried brewing with a standard tea kettle and it will do in a pinch. But, the extra control you get from the long pour spout lets you pour the water exactly where you want it and make sure you’re saturating the grounds evenly.
Check out our favorite gooseneck kettles.
How to Brew Coffee Using the Pour Over Method: Step-by-Step Guide
Now that we have everything we need, let’s start brewing.
Step #1: Grind coffee beans (medium-coarse to medium-fine)
You’ll begin by fresh grinding your coffee with a burr grinder if possible.
The coffee grind will vary a bit depending on which device and filter setup you’re using.
Grind size for the Chemex should be a medium-coarse. This is just a bit finer than sea salt and setting #21 on a Baratza Encore. Because of the extra-thick filters used with the Chemex, we want a slightly looser grind to allow the water to drip more easily.
For other pour over drippers, you’ll want medium-fine coffee grounds. This is roughly the texture of sand and a #14 setting on the Encore, for reference.
Based on our ideal ratio of about 15:1 for water to coffee, you’ll want about 9-10 grams of coffee grounds for every 5-oz cup of coffee you plan to brew.
So, if you’re using a Chemex Classic 6-cup, then you’d want about 58-60 grams of ground coffee.
Step #2: Heat the water to 205 degrees (F)
Next up you’ll want to heat the water in your gooseneck kettle.
The ideal brewing temp is about 205 degrees (F), but you can experiment with the exact temperature of your hot water to really dial-in your preferred taste and flavor.
Working from our 15:1 ratio, this will be 850 grams of water for the Chemex 6-cup.
Add a little bit of extra water for the initial pour and rinse.
If possible, it’s best to use filtered water to remove any contaminants or minerals that may affect taste.
Step #3: Place the coffee filter
Next, you’ll place the filter in the cone dripper or the top half of the Chemex.
I would highly recommend you begin by using the recommended paper filters. Using a reusable mesh or stainless steel filter will pretty dramatically change the fluid dynamics, brew time, and other factors. Since this is such a delicate science, you’ll need to brew a couple test runs with a different filter to figure out what adjustments you need to make to brew great coffee.
It’s also important to make sure that if you’re using the Chemex filter, it’s properly folded and placed with the “3 side” aligned with the chute and pour spout.
Step #4: Rinse and clean the carafe + filter
Before you add the coffee grounds to the filter, do a quick pour to wet and rinse the coffee filter and also rinse out the carafe or mug where the coffee will be dripping.
This just ensures a clean and even brew.
Then, pour out the water.
Step #5: Add coffee grounds to filter
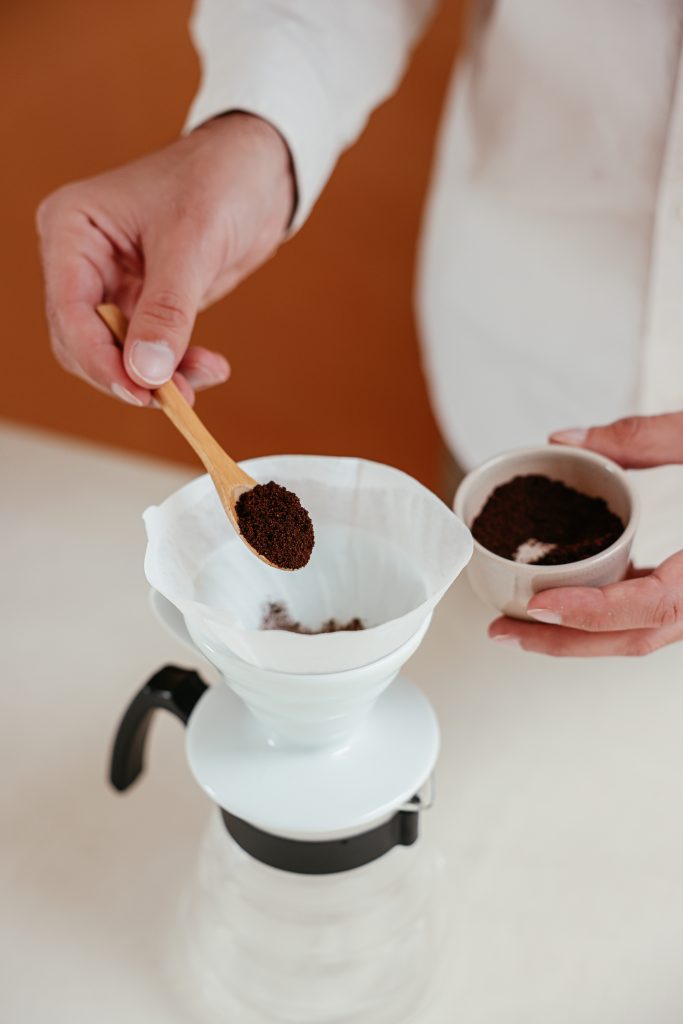
Now we’re ready to add the coffee grounds to the filter.
Focus on creating an even, level coffee bed. Pour or scoop the grounds into the filter. If necessary, lightly shake the grounds to get them to lay flat.
It’s highly recommended that you use a quality coffee scale.
Pour over coffee is particularly tricky to get “just right” and, from experience, I can say that eyeballing your coffee grounds or using a scoop to measure out the right amount can be deceiving and frustrating.
In my experience, the best way to really control the coffee you brew and get a great cup every time is to use a digital scale and weigh everything precisely.
You’d be surprised the difference even a few extra grams can make.
Step #6: First pour (bloom)
Now we get to actually make coffee!
Remember that the first pour is just to wet the grounds. We’re “blooming” the coffee—letting the CO2 escape—before we can begin the actual brew process.
Pour water starting in the center of the grounds.
Then, in a circular motion, move outward from the center until you reach the outer edge. Make sure you pour enough water to saturate all of the grounds. You should see the bubbles forming as the wet grounds expand in the filter.
Once you’ve completed this pour, wait a full 30 seconds for the CO2 to escape.
Step #7: Additional pours
Now that the coffee is bloomed, you can begin the rest of the pours to brew the coffee.
But don’t pour all of the water in one shot.
Instead, you’ll want to pour following the same circular pattern as above, working out from the center. Once you reach the edge, stop and wait for most of the water to filter down through the coffee before pouring again.
Depending on the amount of coffee you’re brewing, you’ll likely have 2-4 additional pours following this same pattern.
Once you’ve poured all of the water, simply wait for the dripping to stop.
Step #8: Serve
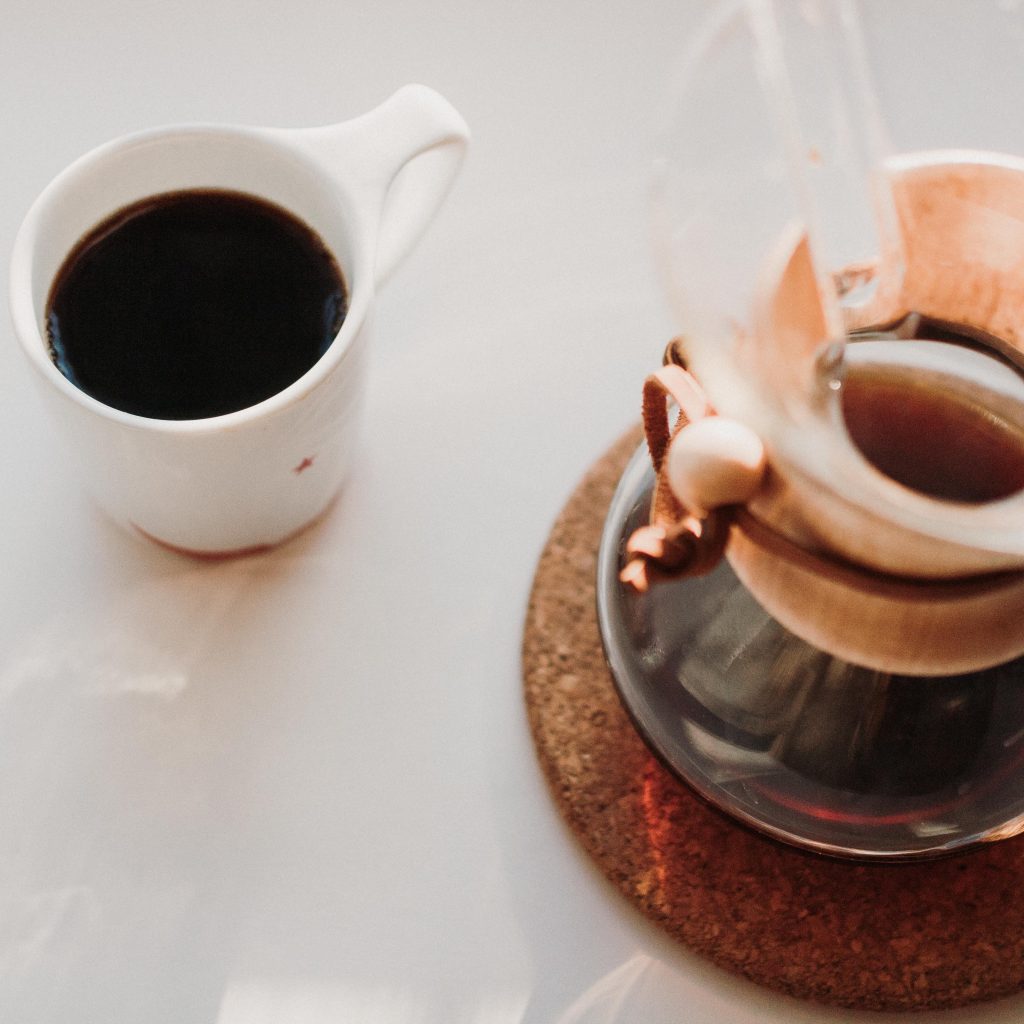
Finally, the wait is over.
Once you’ve completed your final pour, wait until the water is finished dripping. Then it’s ready to serve.
Remove the dripper and/or filter and pour your coffee using the spout (or just begin drinking if you brewed directly into a mug!)
Brew time for pour over coffee is generally about 2 – 5 minutes.
That’s it! Follow these simple instructions and you’ll have the best coffee money can buy.
Pour Over Coffee FAQs
What’s the ideal grind size for Chemex?
Use a medium-coarse grind with the Chemex (slightly coarser than sea salt). Because Chemex is meant to be brewed with the thicker, bonded paper filters, you should use a coarser grind than when brewing with other pour over methods to avoid over extraction.
What’s the ideal grind size for V60, Kalita Wave, or Melitta?
Use a medium-fine grind with the Hario V60, Kalita Wave, Melitta, or other pour over drippers. This is the “standard” pour-over grind and will ensure that your coffee is fully extracted when using a standard paper filter.
If you use a reusable metal or mesh filter, you may need to adjust your grind.
What’s the right ratio of water to grounds for pour over coffee?
15:1. Use 1 gram of coffee grounds for every 15 grams of hot water.
Depending your temperature and filter, you may want to adjust this ratio. But generally 14:1 to 16:1 is standard.
How long should brewing pour over drip coffee take?
2 – 5 minutes. Once the water is heated and you begin the wetting phase, it should take about 2 to 5 minutes to complete all of the pours and for the coffee to finish brewing.
Other Coffee Brewing Methods to Try
Here are some of our other favorite ways to make coffee. Check ‘em out.